GuiHandler
A GUI API for develeopers.
What is it?
GuiHandler does nothing on its own, its used by other plugins to make creating GUI's easier.
For server owners
If one of the plugins you are using in your server requires GuiHandler, simply download it and install it like a normal plugin.
As stated before, GuiHandler doesnt do anything on its own, you need other plugins to use it.
For develeopers
Want to use GuiHandler in your plugins? Cool!
Simply download the jar and add it to your plugins buildpath. Add it as a dependency in your plugin.yml.
Make sure that when testing the plugin you made you do have it installed.
To create a GUI, simply make a class that extends Menu. (Import nl.mistermel.guiapi.Menu)
Here is a example:
public class ExampleMenu extends Menu {

	public ExampleMenu() {
		super("Example Menu", InventoryType.HOPPER, true);
		//The first argument is the name of the gui, the second is
		//the inventory type and the third is if you want fillers
		//or not.
	}

	@Override
	protected void addItems() {

	}

	@Override
	protected void onOpen() {

	}

	@Override
	public void clicked(Player p, ItemStack item) {

	}

}
addItems is called when the inventory should be filled with items,
onOpen is called whenever a player opens the menu,
and clicked is called whenever a item is clicked in the inventory.
A complete GUI would look something like this:
public class ExampleMenu extends Menu {

	//We create the items here so we can use them later
	private ItemStack yes;
	private ItemStack no;

	public ExampleMenu() {
		super("Example Menu", InventoryType.HOPPER, true);
		//The first argument is the name of the gui, the second is
		//the inventory type and the third is if you want fillers
		//or not.

		//Setting the items
		yes = new ItemStack(Material.EMERALD_BLOCK);
		ItemMeta yesMeta = yes.getItemMeta();
		yesMeta.setDisplayName(ChatColor.GREEN + "Yes");
		yes.setItemMeta(yesMeta);

		no = new ItemStack(Material.REDSTONE_BLOCK);
		ItemMeta noMeta = no.getItemMeta();
		noMeta.setDisplayName(ChatColor.RED + "No");
		no.setItemMeta(noMeta);
	}

	@Override
	protected void addItems() {
		//Setting the items into the inventory
		getInventory().setItem(1, yes);
		getInventory().setItem(3, no);
	}

	@Override
	protected void onOpen(Player p) {
		//Sending a message
		p.sendMessage("You opened the GUI!");
	}

	@Override
	public void clicked(Player p, ItemStack item) {
		//Checking which items was clicked
		if(item.equals(yes)) {
			//Doing actions depending on which item was clicked
			p.closeInventory();
			p.sendMessage("You clicked " + ChatColor.GREEN + "Yes");
		} else if(item.equals(no)) {
			p.closeInventory();
			p.sendMessage("You clicked " + ChatColor.RED + "No");
		}
	}
After we have made the menu, we still need to register it. This is very simple. Simply do
GuiAPI.getInstance().registerMenu(new ExampleMenu())
And of course replace ExampleMenu with the name of your Menu class.
Now, lets open the menu to a player. This is also very simple.
GuiAPI.getInstance().getMenu("Example Menu").open(player);
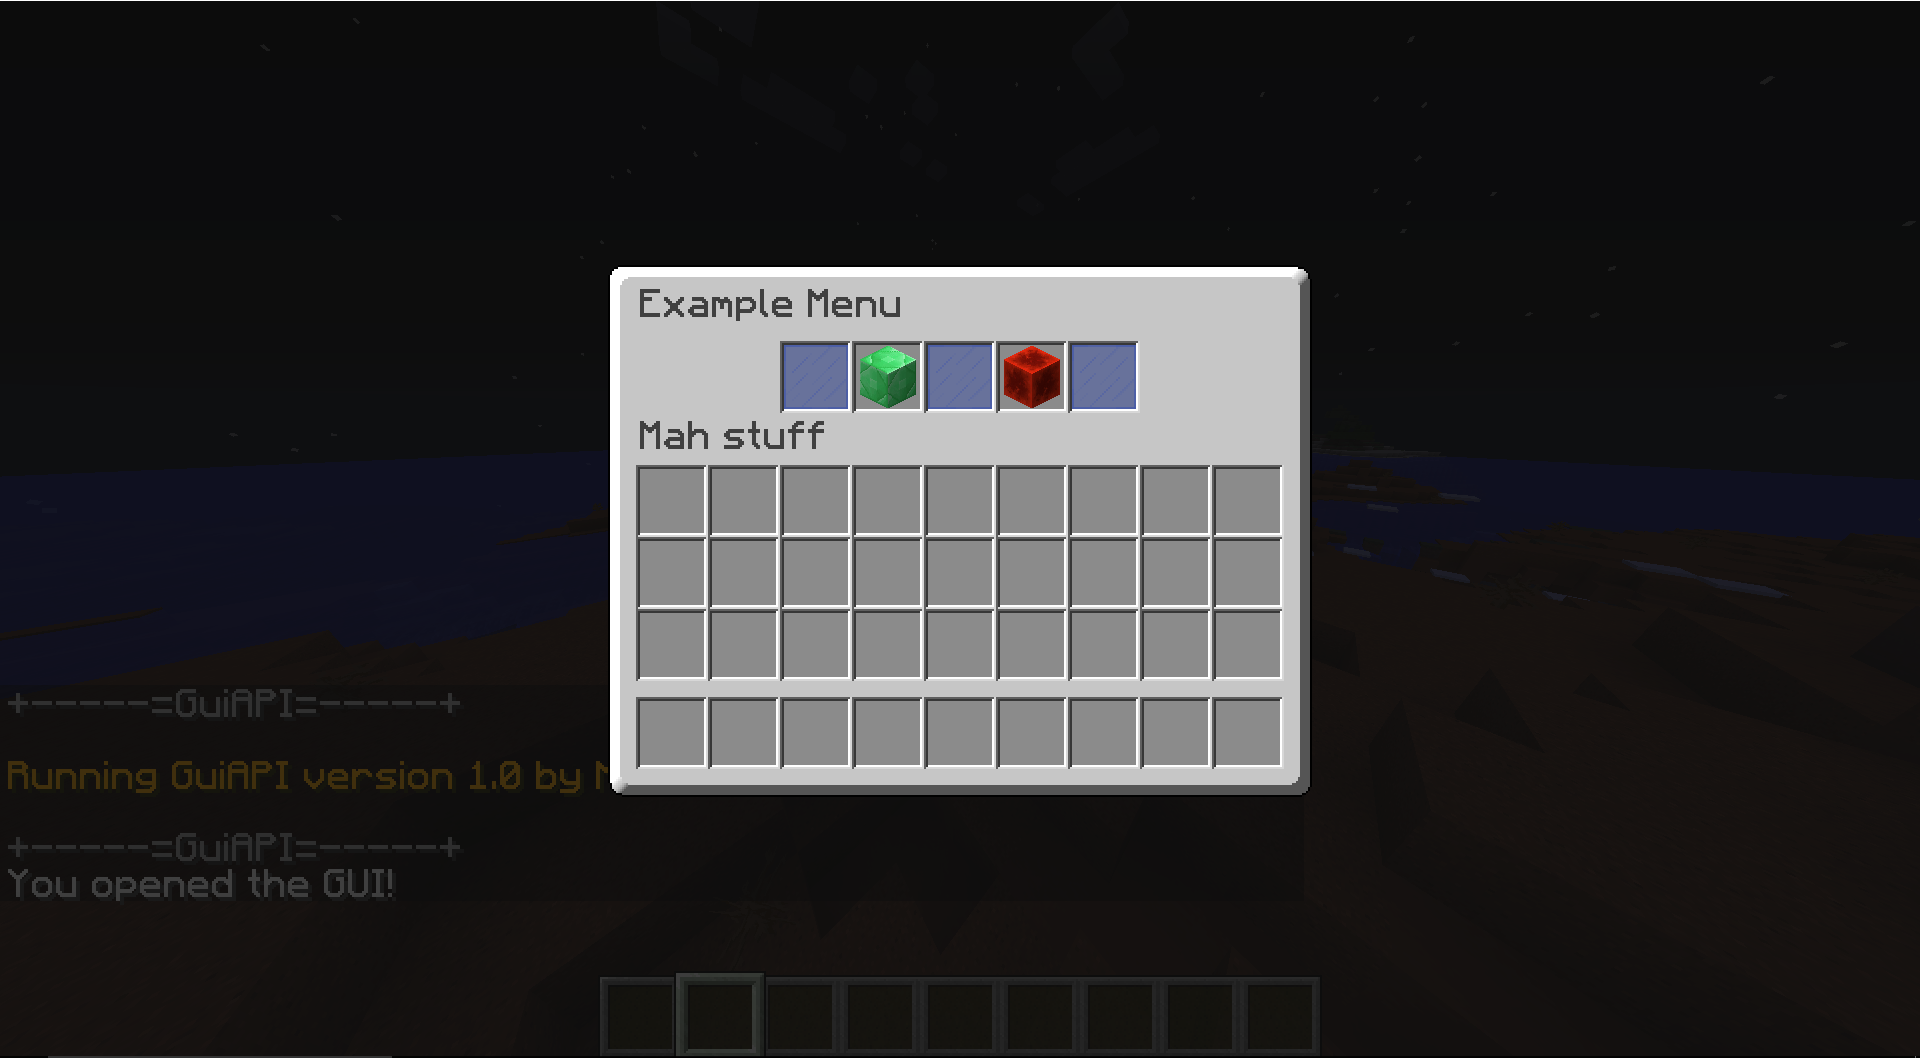
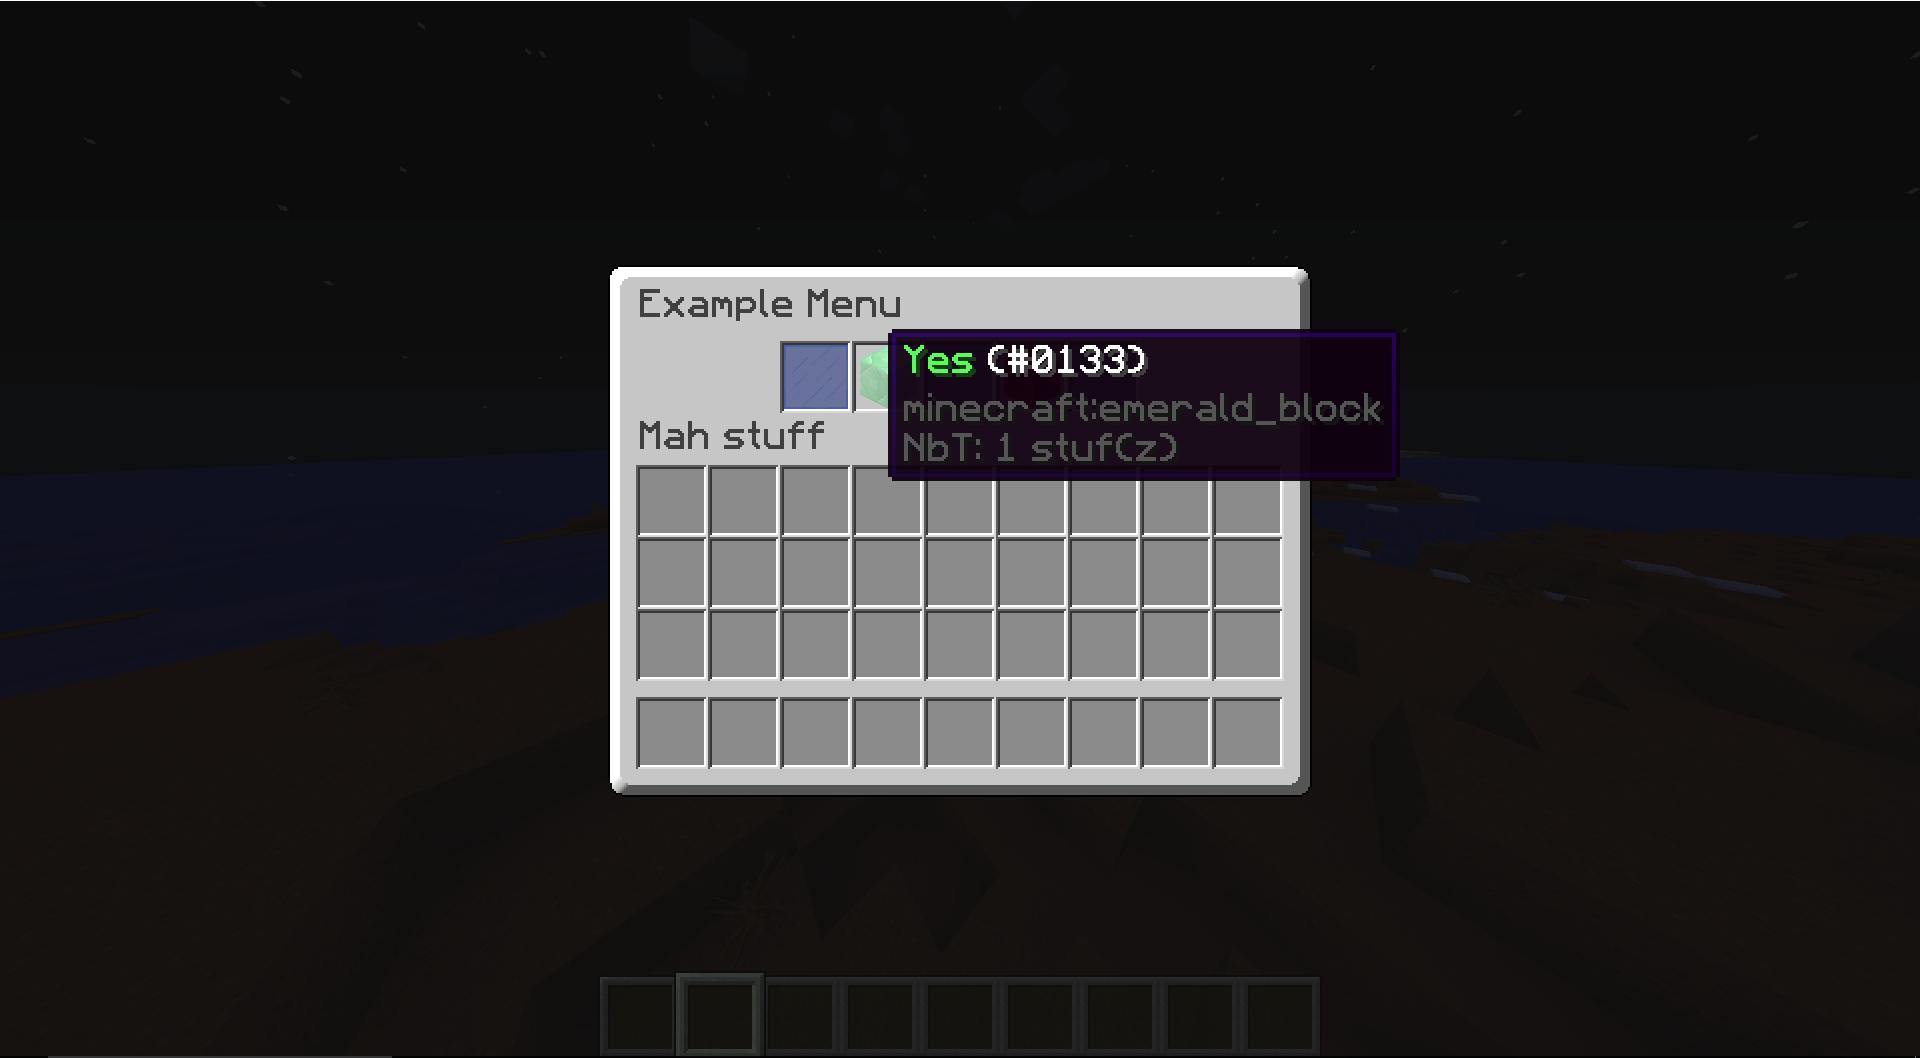
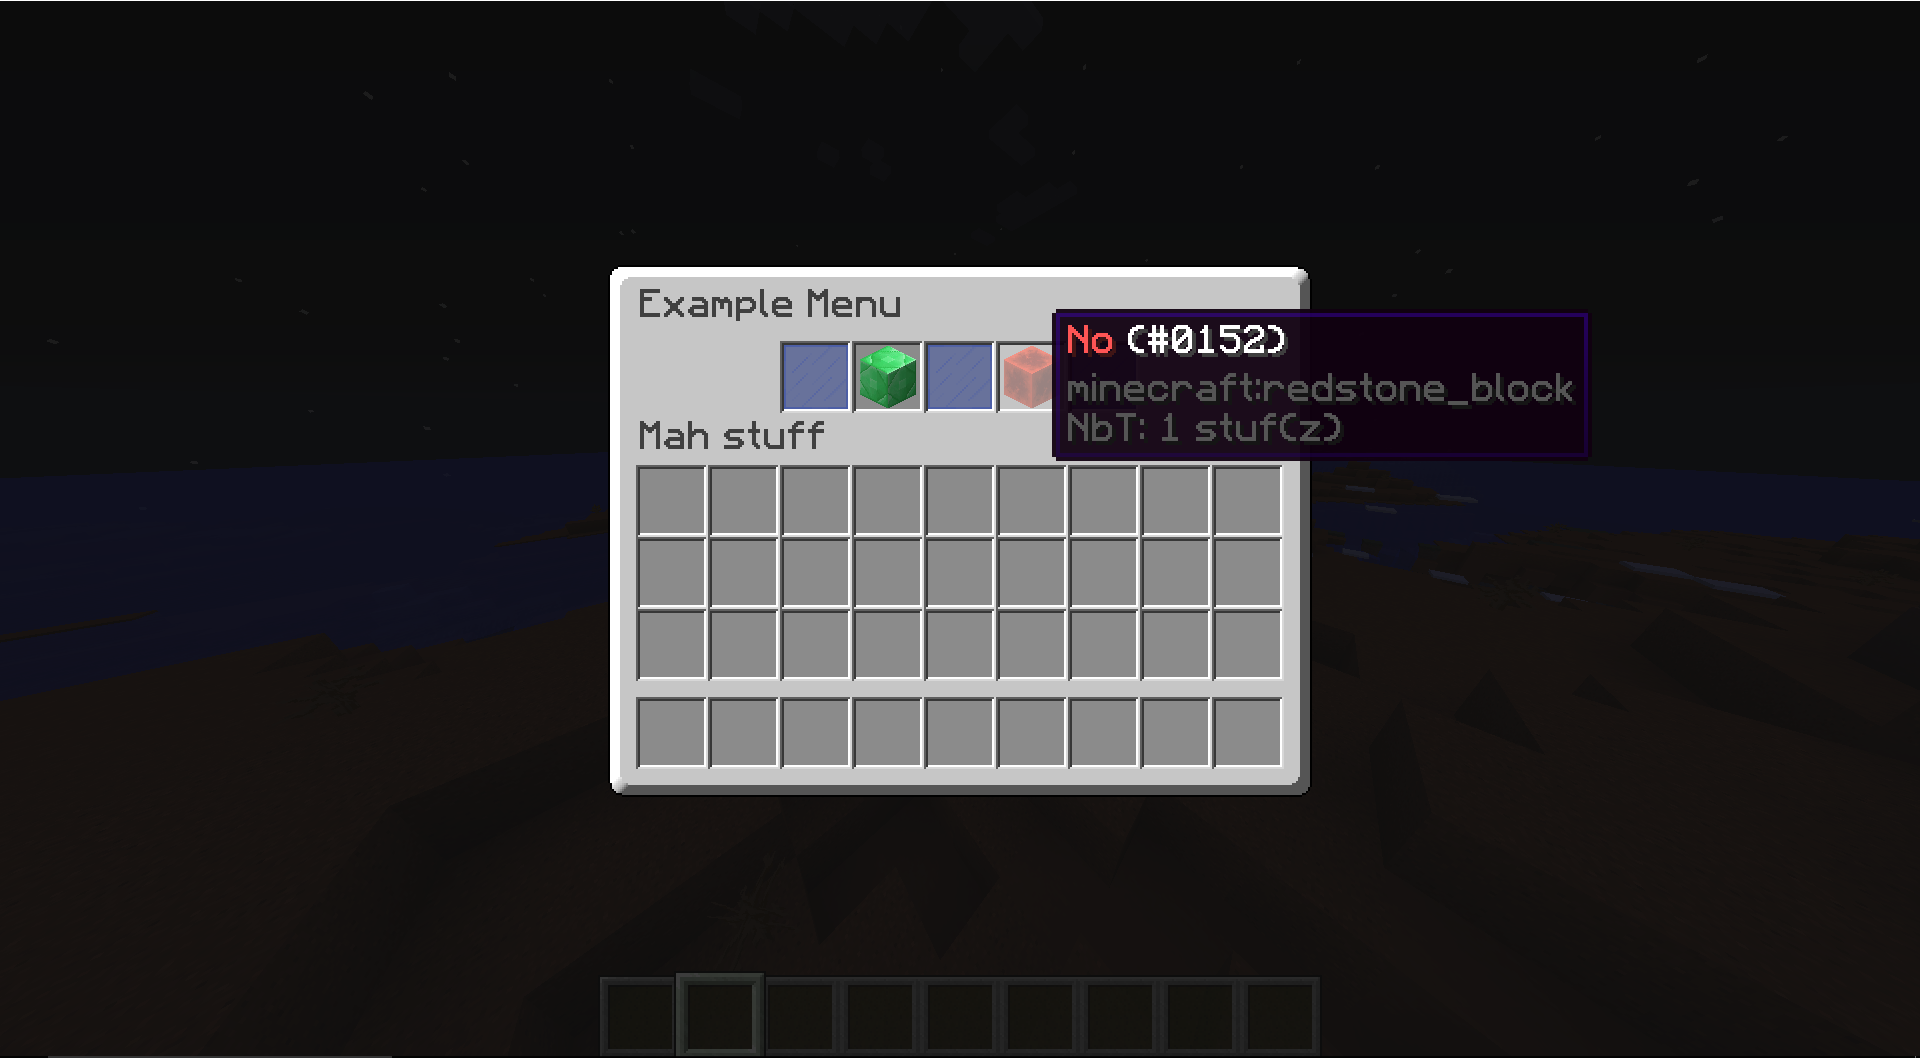
And finally, the end result!


![]()

![]()