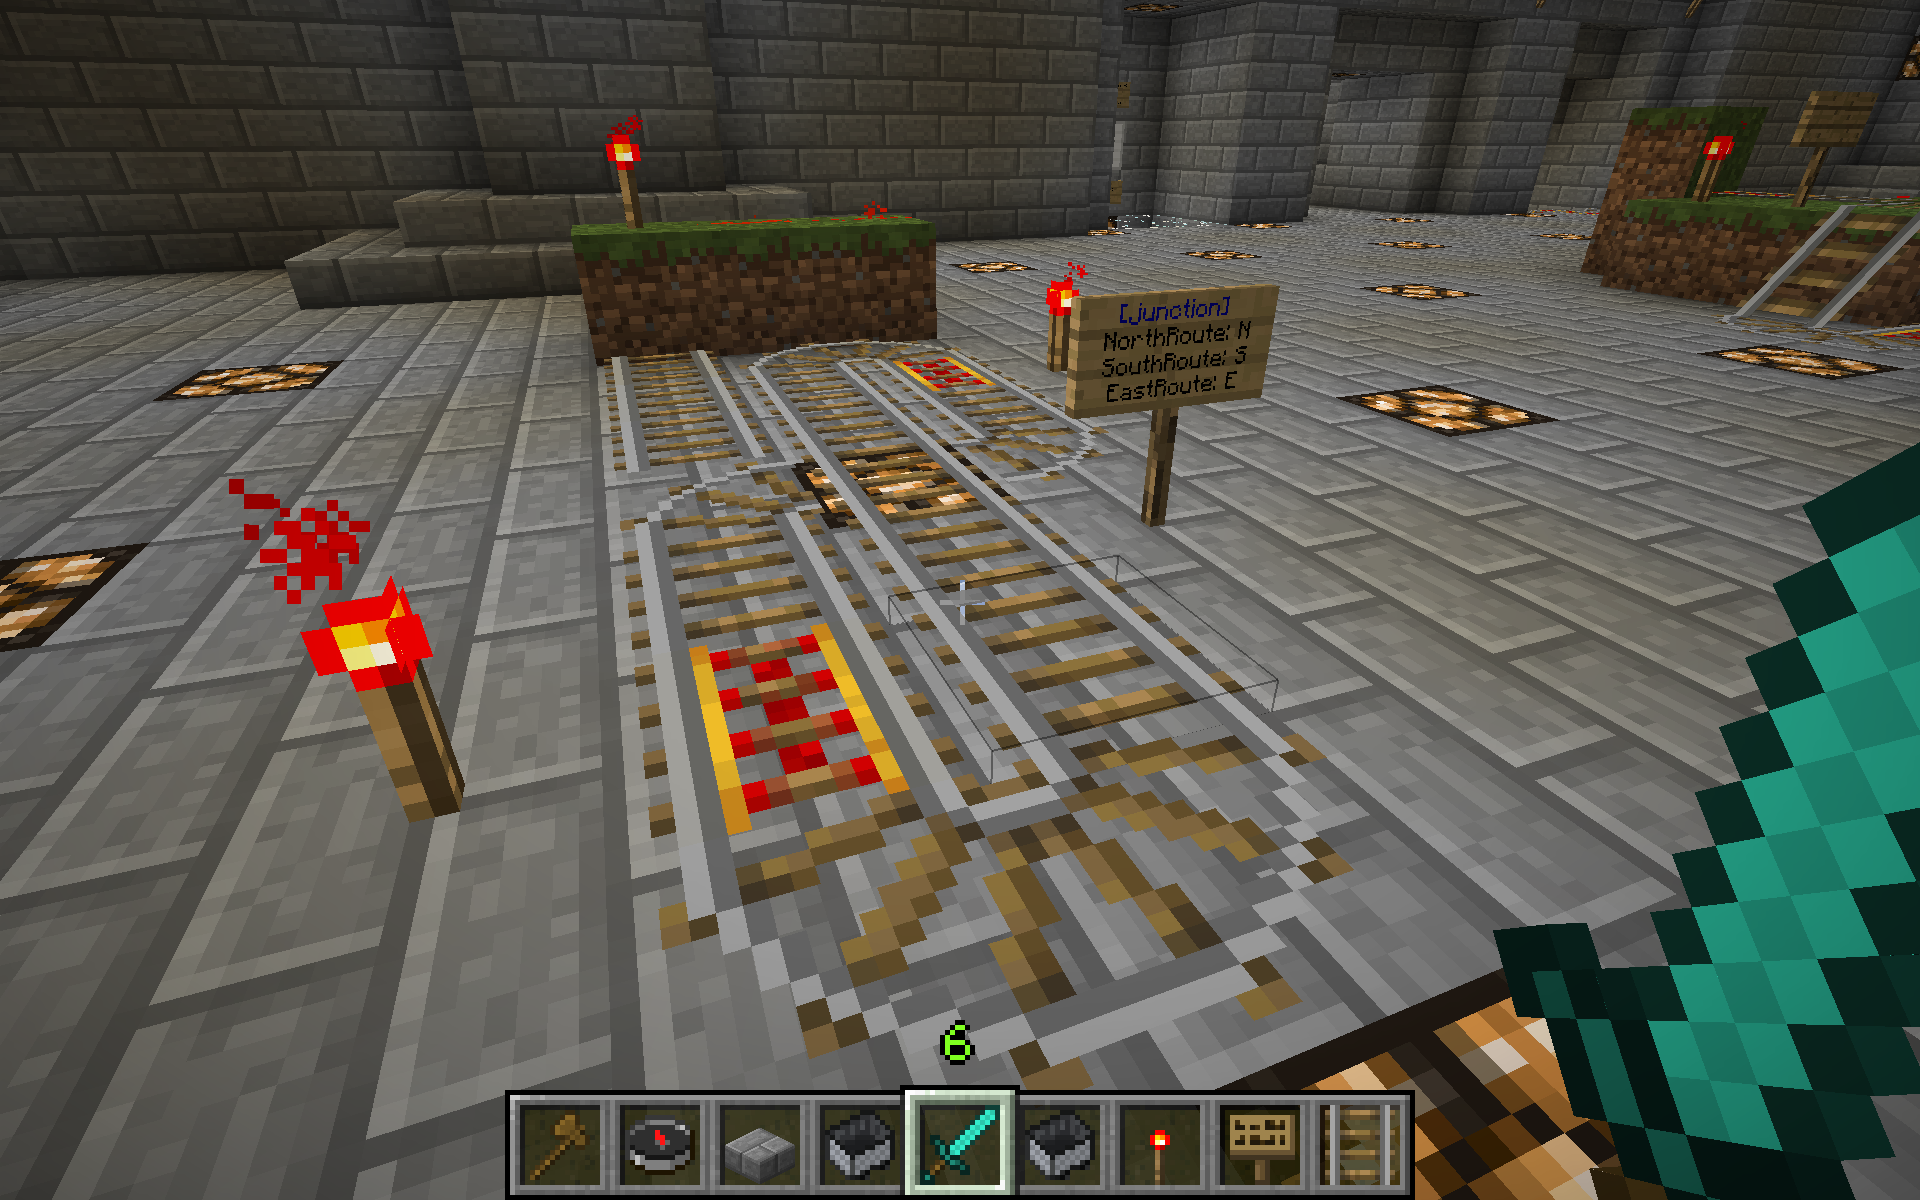
Complex 4-way intersections
This image demonstrates how complex track configurations can still contain 4-way junctions.
Note: This configuration relies on a more exact junction detection available in the git repository version and coming in v0.4

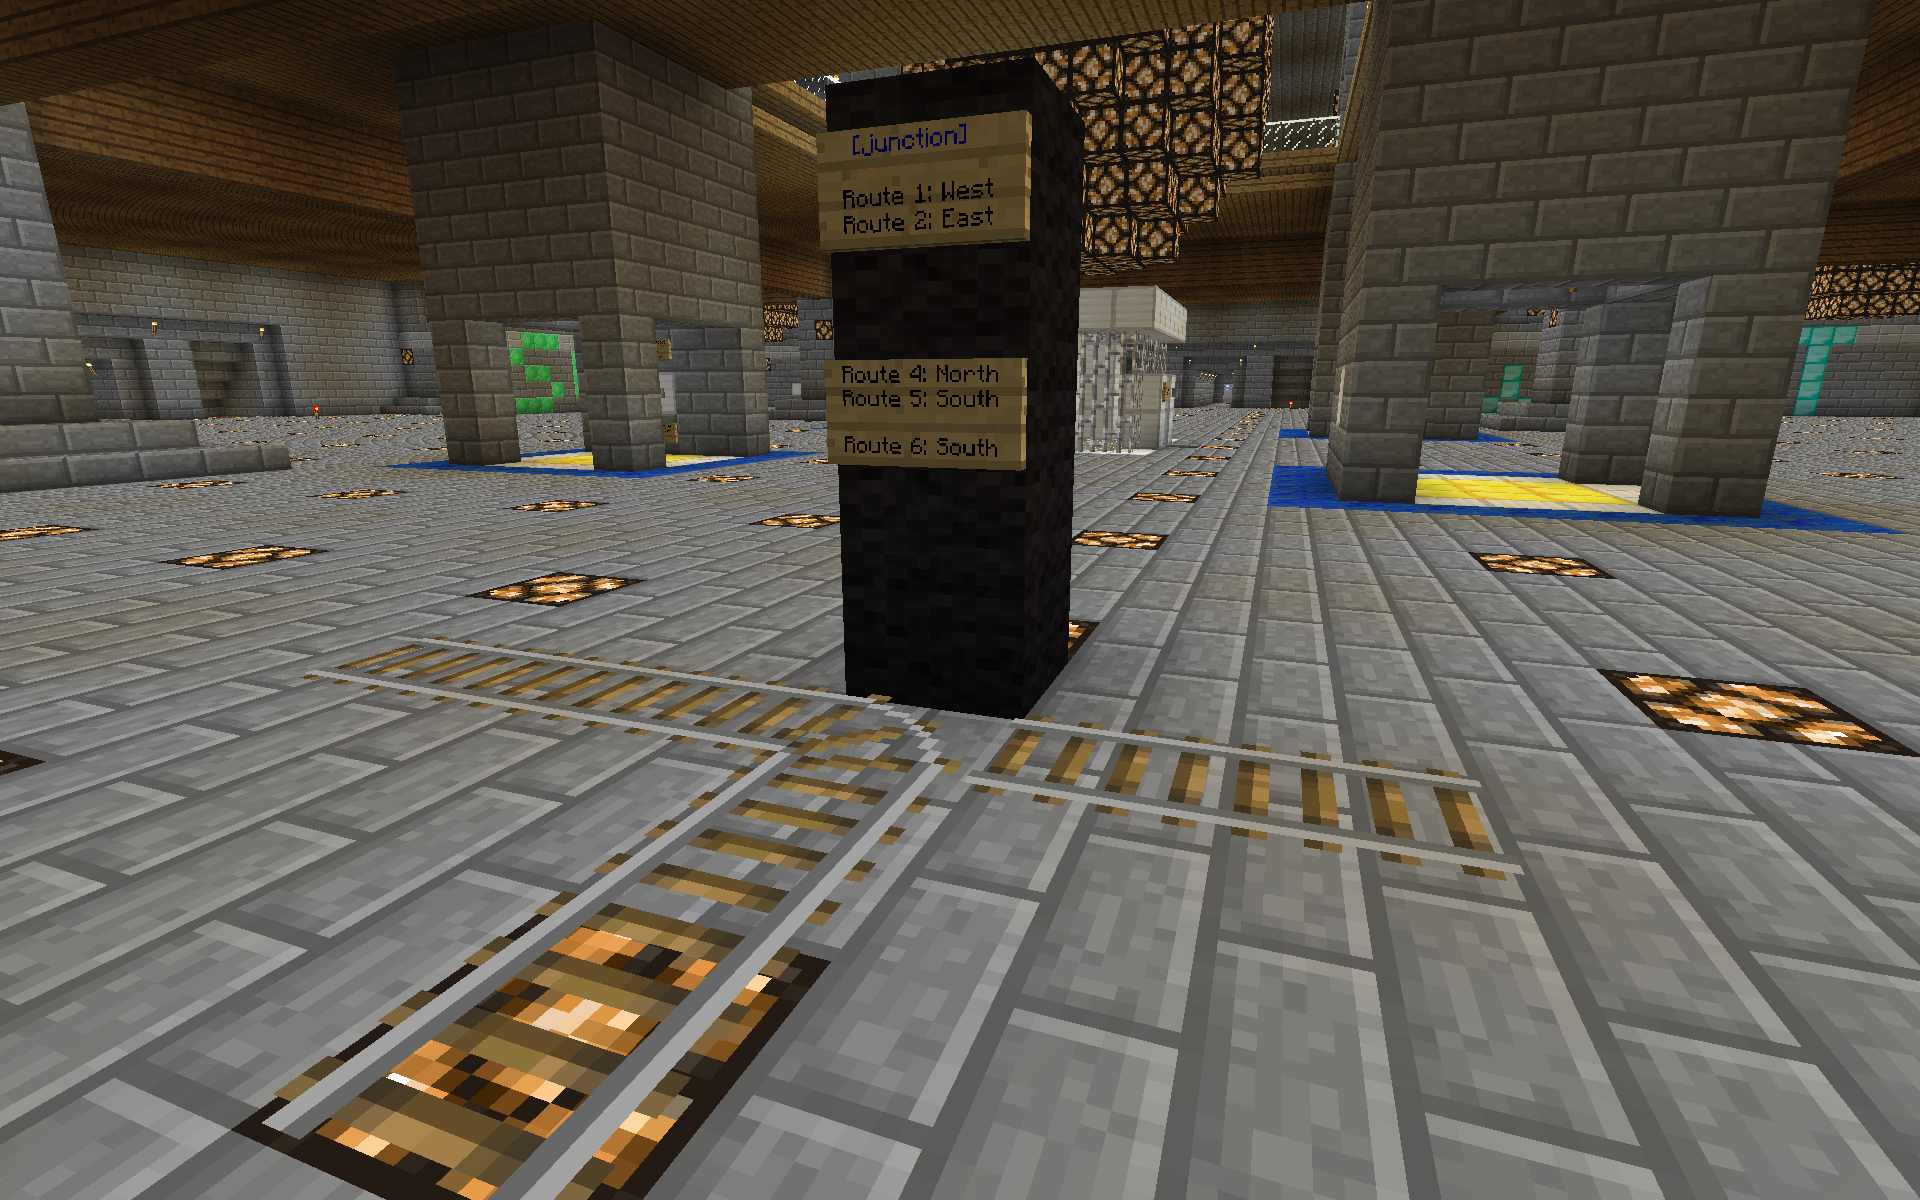
Stacking signs
This image shows how you can stack multiple routing tables on top of each other when you need extra lines. Additionally this image shows how the signs can be one block above the junction.
![Using [destination] signs](https://media.forgecdn.net/attachments/118/306/2012-08-31_00.17.57.png)
Using [destination] signs
This sample two-track configuration uses destination signs on a wall to allow users to choose their route

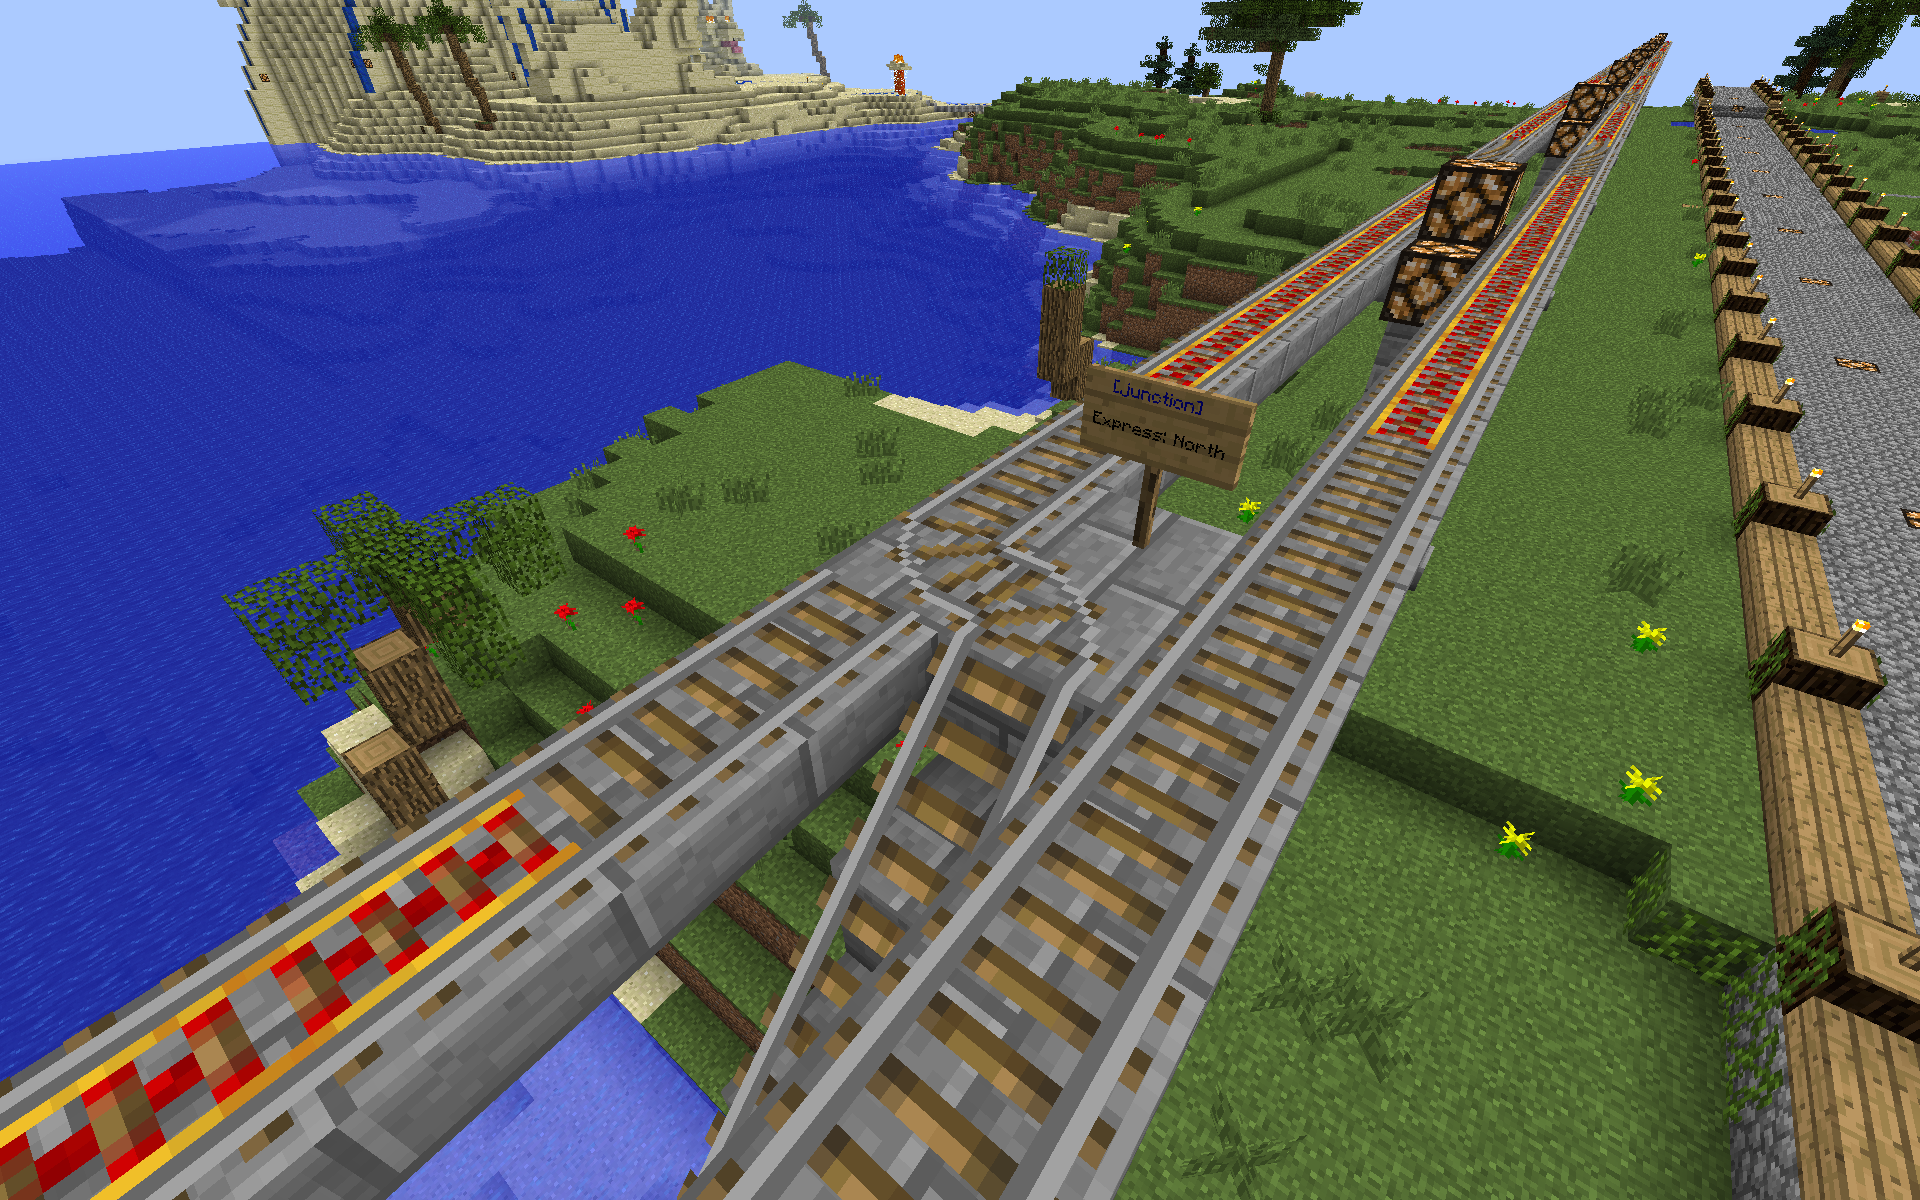
Express-lane junction
This simple junction allows carts to pass through by default and for users on the "Express" route to drop down into a Nether portal for fast travel.
![Using [destination] signs, part 2](https://media.forgecdn.net/attachments/118/308/2012-08-31_00.18.10.png)
Using [destination] signs, part 2
This picture shows the routes that correspond to the previously shown destination signs.