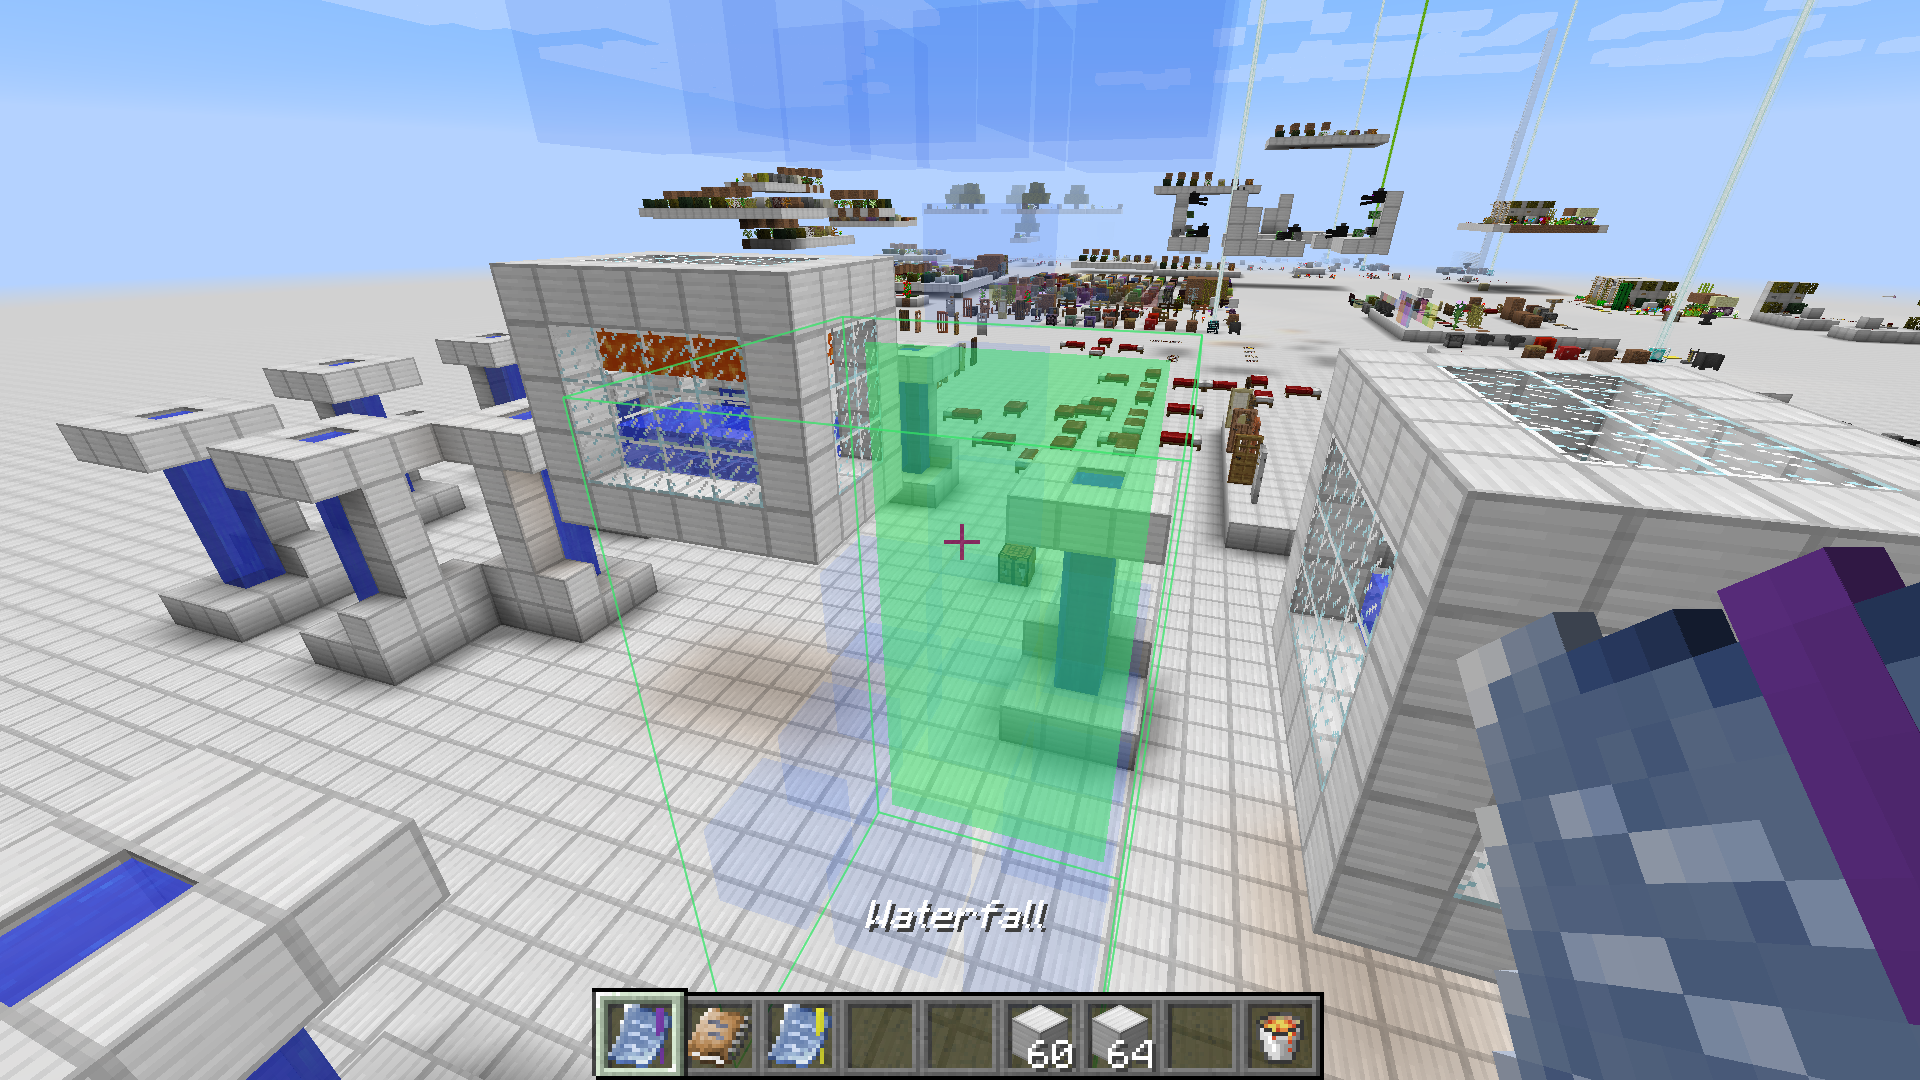
Architect is a mod that provides a small toolset to make building repetitive structures a breeze. It allows creating Blueprints (patterns) of structures in the world using a simple but powerful selection system: single blocks can be toggled to be included in a Sketch by right-clicking them, ranges can be added/removed by sneak-right-clicking to start a selection and then finish it by right-clicking again to include the selection, or sneak-right-clicking again to remove the selection.
Once a selection is satisfactory, a Sketch can be converted into a Blueprint by holding right-click for a little over one second (think eating food). Blueprints can then be used to place the saved pattern in the world wherever you like. Placement follows a grid of the granularity of the blueprint's bounds (to easily allow placing a blueprint in a repeating fashion). Alternatively, the placement grid can be toggled by pressing G for free positioning.
The position can be fine-tuned by scrolling the mouse-wheel while sneaking - this shifts the placement along the axis the player is currently looking along when in grid-snapping mode, otherwise it adjusts the picking distance. Rotate blueprints by pressing R. Finally, by pressing P one can toggle whether to only place complete blueprints or whether to allow partial placement. All keybinds can be rebound in the Minecraft controls window of course.

Materials for construction of a placed blueprint will be extracted from the player's inventory. To avoid running out of materials quickly, an Item Provider may be used. This item can be bound to an inventory in the world (such as chests). As long as a bound provider is in the player's inventory, materials will be pulled from the bound inventory before pulling from the player's inventory. There is a range limit, however. Its twin item, the Fluid Provider fulfills the same job just for fluids.
Here's a quick demonstration video showing the basic controls, what the mod is about, and in the second half a bit of info on how to configure it.